Is your room in dire need of a refresh, but your budget isn’t quite up for a full-scale renovation? Fear not! I have the perfect solution: a budget-friendly room transformation. Here’s how you get a high impact DIY transformation using paint.
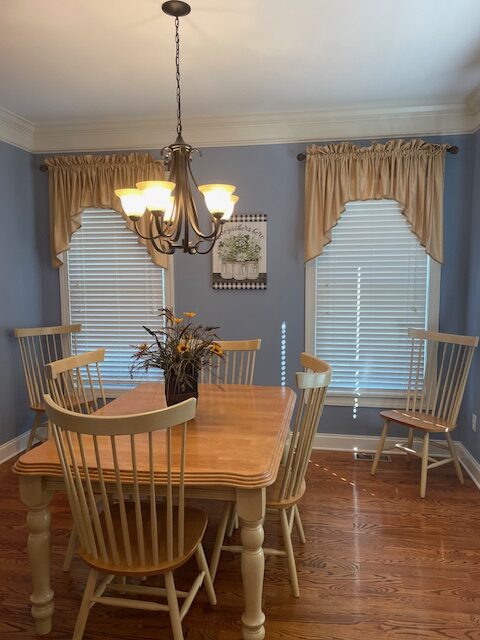
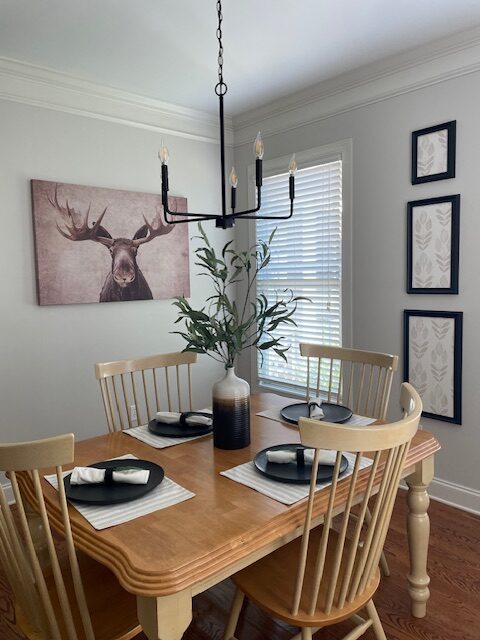
We gave Terry’s dining room a bachelor pad update using a neutral paint color to create a timeless design. Although we did make other design changes in this room, the most impactful change is the transformation of color.
make a plan
Before diving into the world of paint, take a moment to evaluate what aspects of your room need a refresh. Are you looking to add a pop of color, create a focal point, or simply update your current color? Identifying your goals will guide your paint choices and makeover strategy.
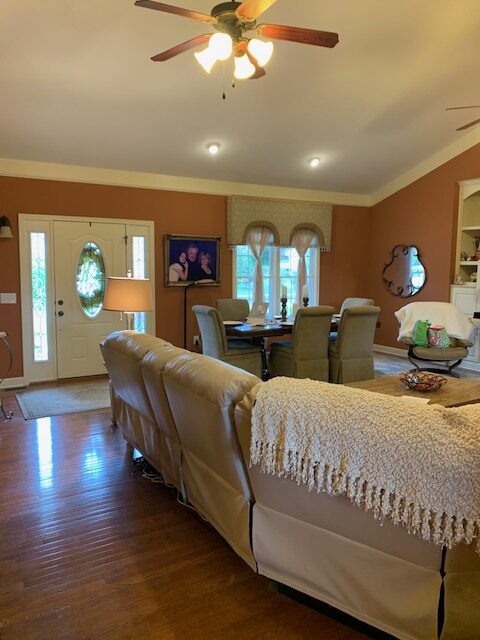
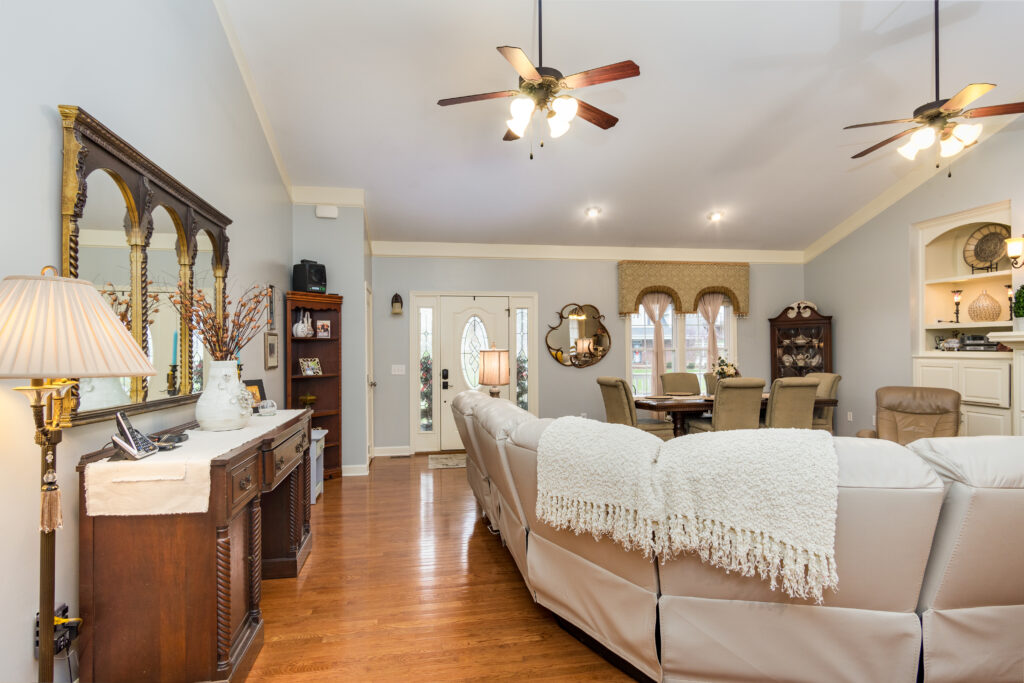
Charlene’s oversized living and dining room received a huge transformation, mostly with a fresh, light and airy coat of paint.
Choosing the RIght colors
Choosing a paint color (the right way) isn’t for the faint at heart. There are thousands upon thousands of colors on the color wheel. It can be overwhelming. But it will be worth it in the end my friend! If you are looking to freshen up your space and get it done with less stress, my advice it to go neutral. Neutral does not mean boring. It’s means quite the opposite – fabulous and timeless. If you are putting in the sweat equity to DIY your painting project, you want it’s beauty to last for years to come. Am I right? You certainly don’t want to repeat this process in a year when you are tired of the trendy color you chose.
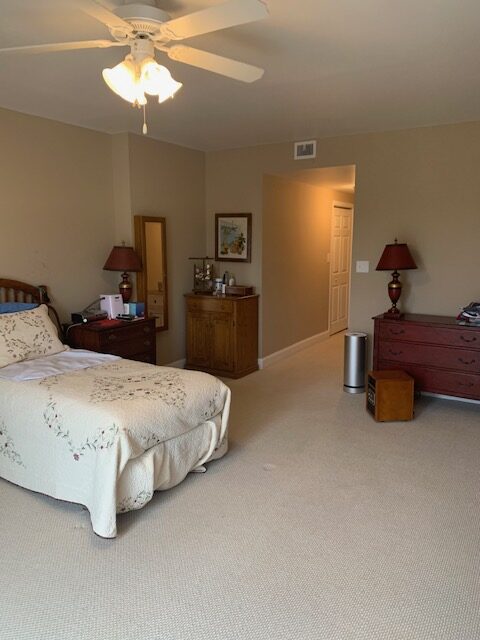
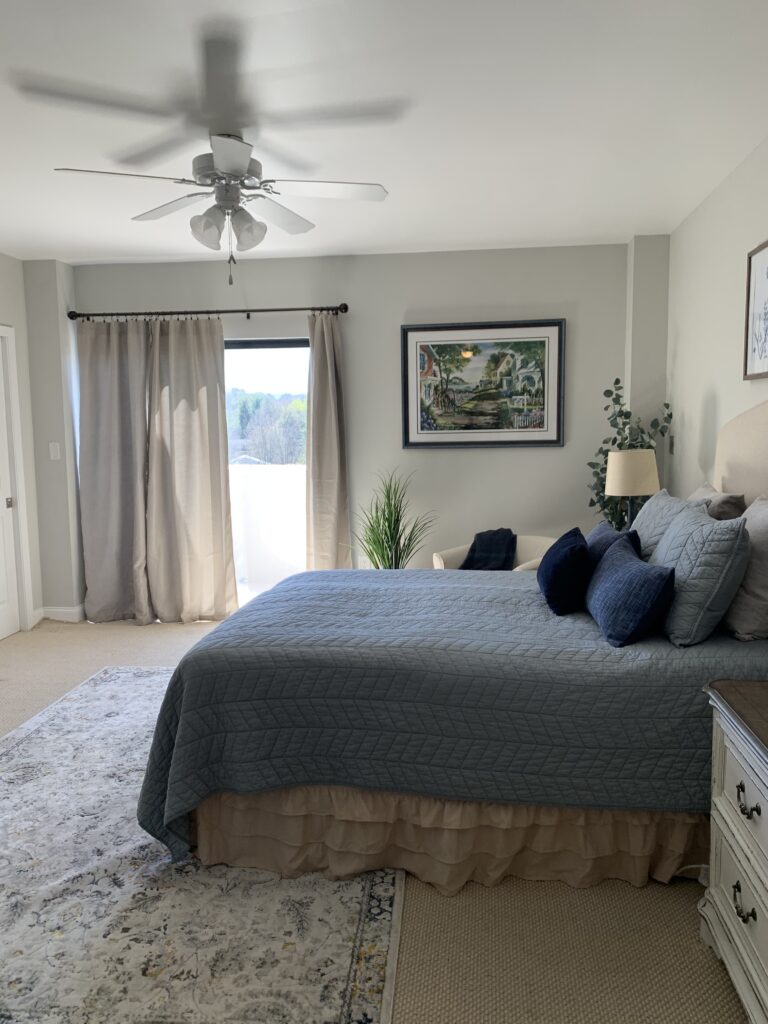
Marilyn’s bedroom received a soft, cozy makeover. The first order of business was to create a beautiful backdrop for her new design by getting rid of the beige/yellow paint and refreshing with a soothing gray/beige neutral.
TIP: I suggest using EGGSHELL finish on the walls and SATIN on the trim.
The right way to paint
Achieving a flawless wall finish requires a systematic approach and attention to detail. Begin by thoroughly cleaning the surface to remove any dirt or debris, ensuring a smooth canvas for your paint. Next, patch any holes or imperfections with a high-quality filler and sand the walls for a uniform texture. Investing time in proper preparation sets the stage for a professional-looking result.
Use painter’s tape to protect adjacent surfaces and achieve clean, crisp lines. (I prefer only using painter’s tape when absolutely necessary. You will get cleaner lines and less mess if you take your time to cut in with a brush neatly).When selecting paint, opt for a high-quality product that suits your desired finish and color. Stir the paint thoroughly to ensure an even consistency. Start by cutting in along the edges and corners with a brush before using a roller for the larger areas. Apply two coats for a more durable and vibrant finish, allowing adequate drying time between coats. Finally, remove the painter’s tape while the paint is still slightly damp to prevent any peeling.
Following these steps guarantees a well-executed paint job, transforming your walls with precision and finesse.
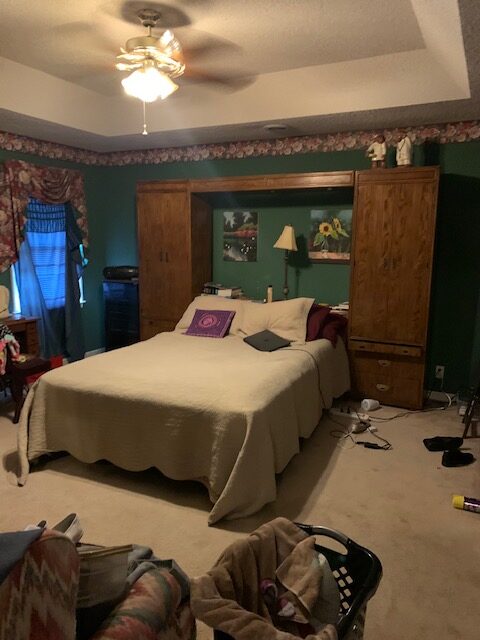
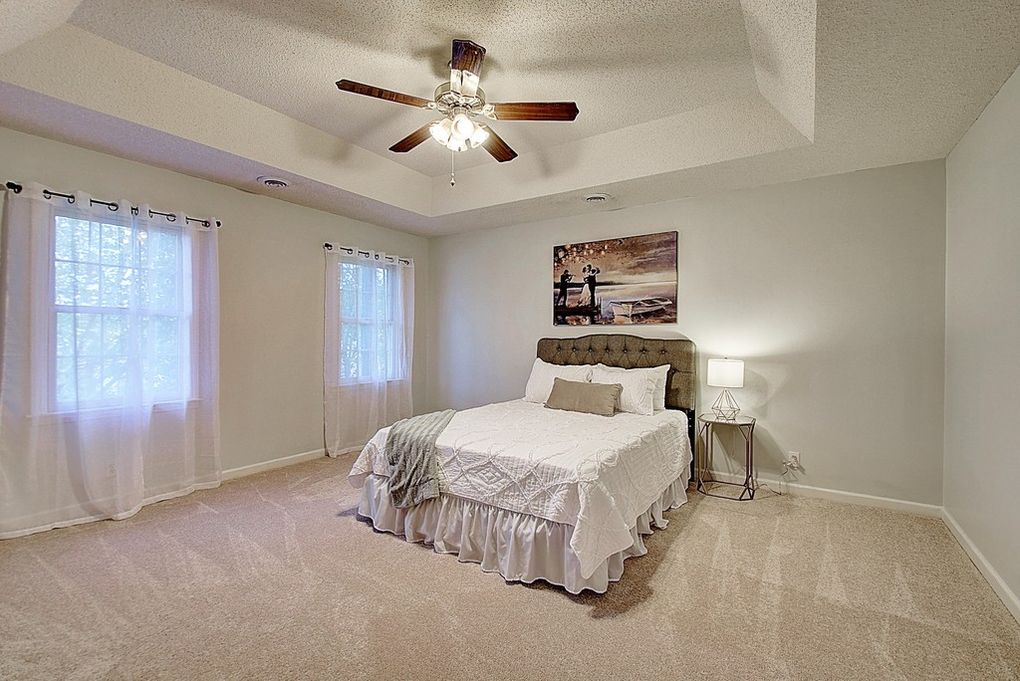
This room was a HOT MESS! However, look past all the other changes we made with decor and see just how much the paint color changed the look and feel of this room. It went from dark and dreary to beaming with light! Fresh paint played a huge role in marketing this listed home at it’s full potential for Top Dollar and a Quick Sale.
time to get started!
Embarking on a room makeover doesn’t have to drain your wallet. With a strategic approach and the versatile medium of paint, you can achieve a stunning transformation that leaves a lasting impact. Embrace the power of color, unleash your creativity, and watch as your budget-friendly room makeover unfolds, revitalizing your living space in ways you never thought possible. Happy painting!